

Tutorial: react to a price drop with a before-and-after rule
Shopify tells you that a product changed. A change trigger tells you what changed, with the value before and after. In this tutorial you build, from a blank canvas, a workflow that starts only when a variant's price went down, and posts the old price, the new price and the difference to Slack.
You need: the secret SLACK_WEBHOOK_URL (see Secrets) and read access to products on the Permissions page.
1. Start blank
- Open Workflows and select Create blank workflow.
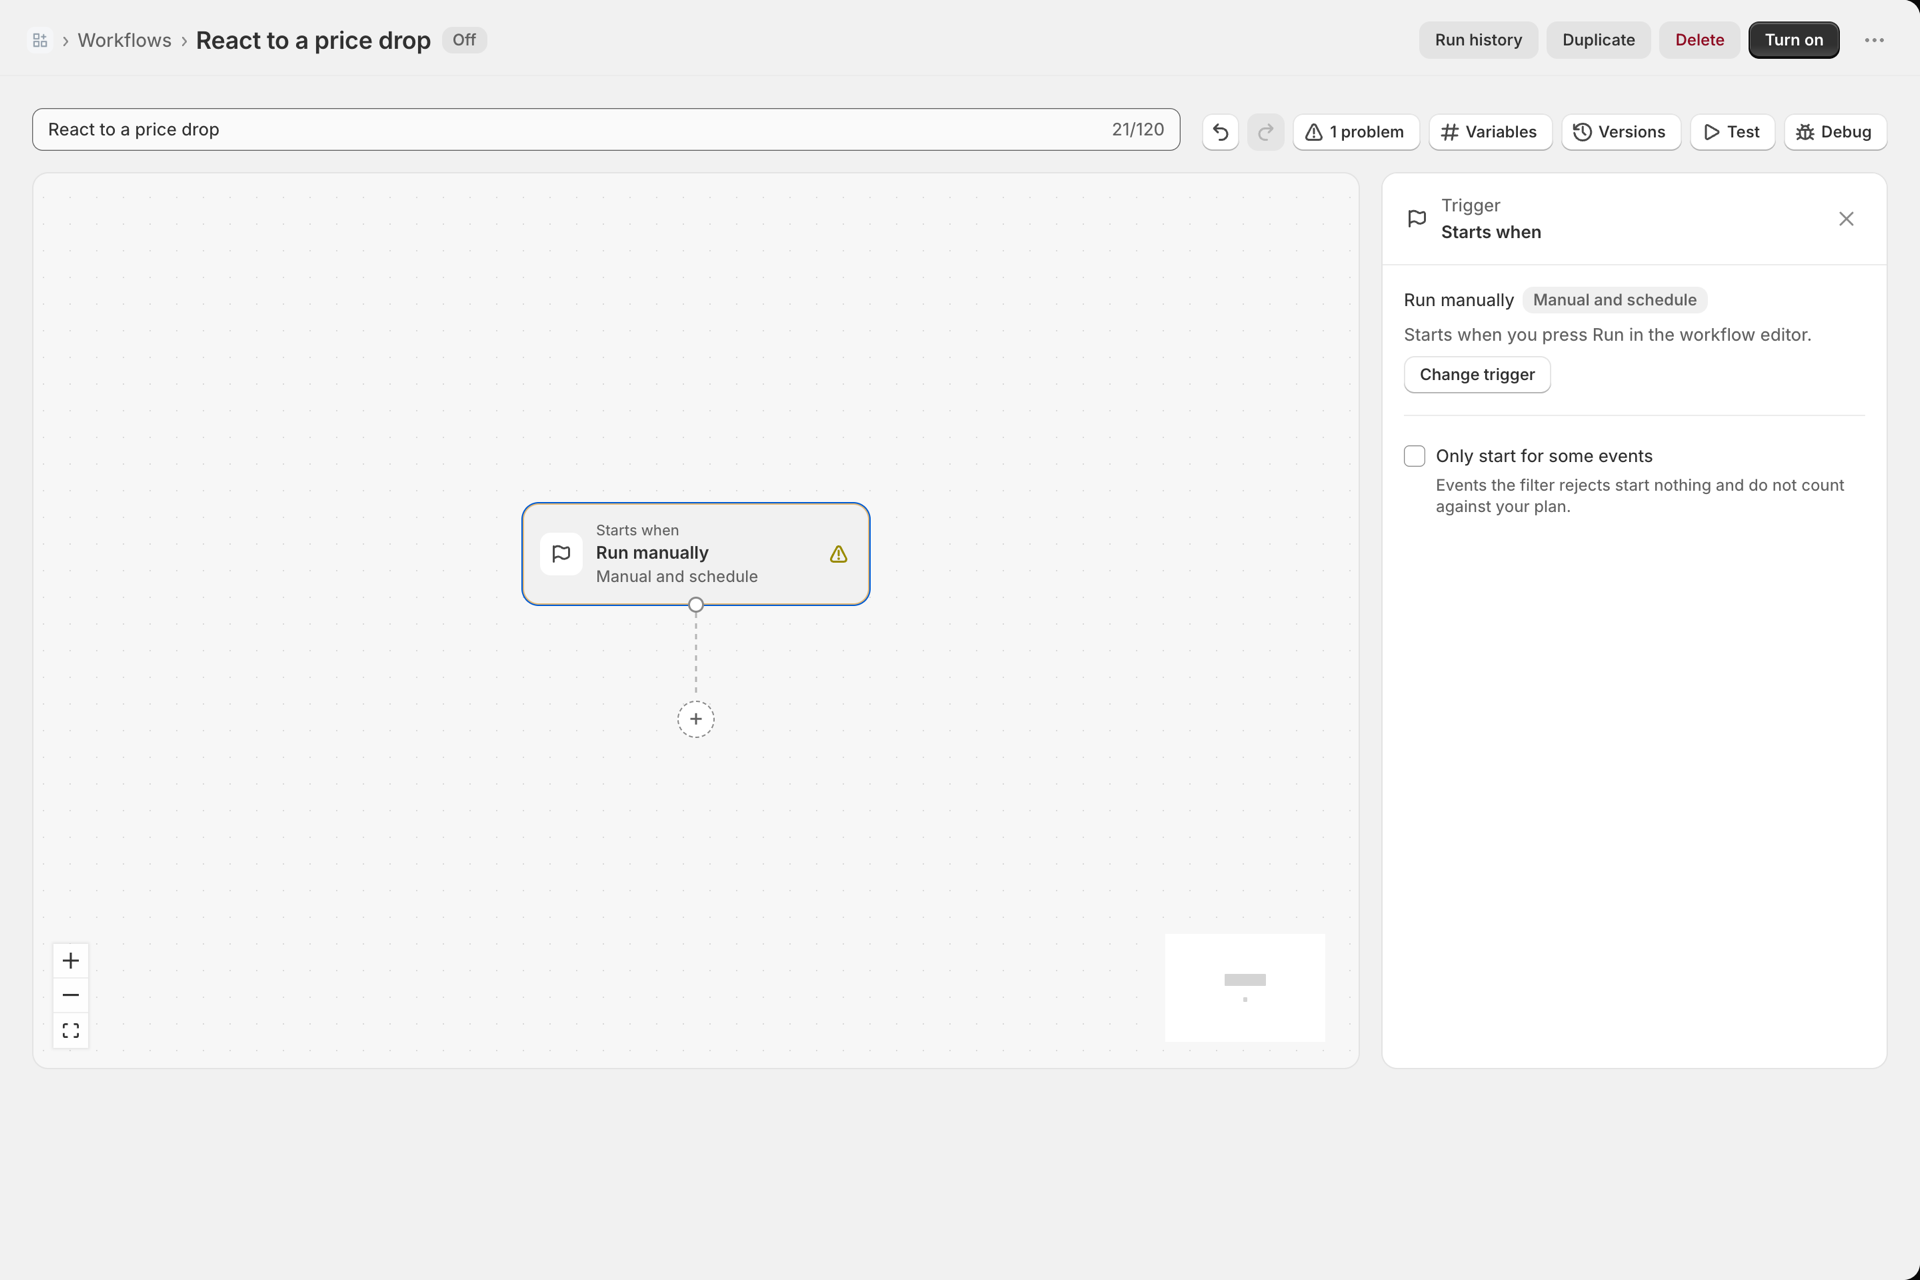
- The editor opens with the trigger Run manually and one problem: the workflow has no steps yet.
- Replace Workflow name with
React to a price drop.
2. Pick the change trigger
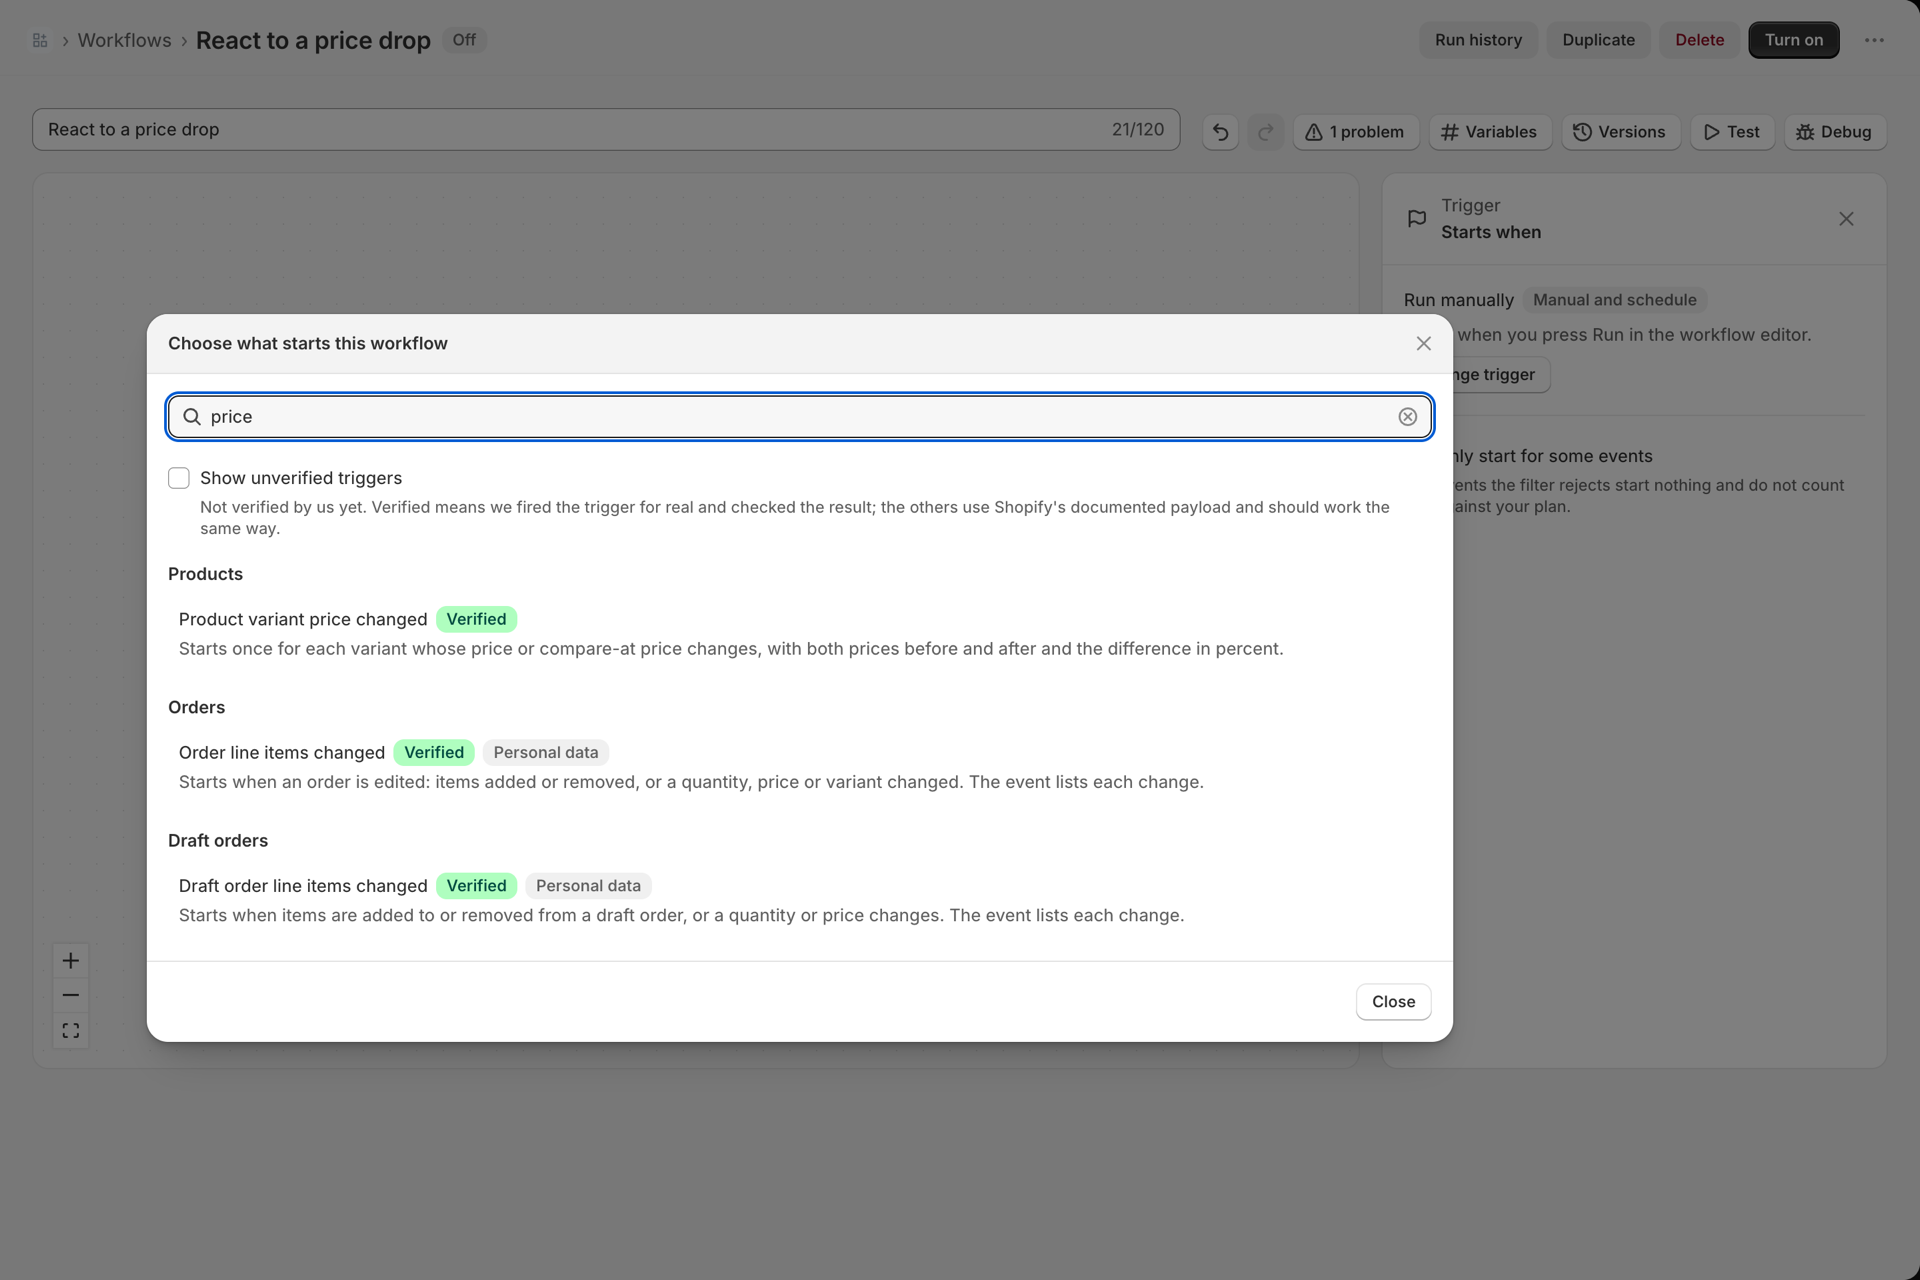
- Select Change trigger in the side panel. The window Choose what starts this workflow opens.
- Type
priceinto the search box. - Pick Product variant price changed. Its description says what it carries: both prices before and after and the difference in percent.
3. Start only when the price went down
The trigger fires for every price change, up or down. A trigger filter keeps the workflow from starting at all when the price went up, and a filtered event does not count against your plan.
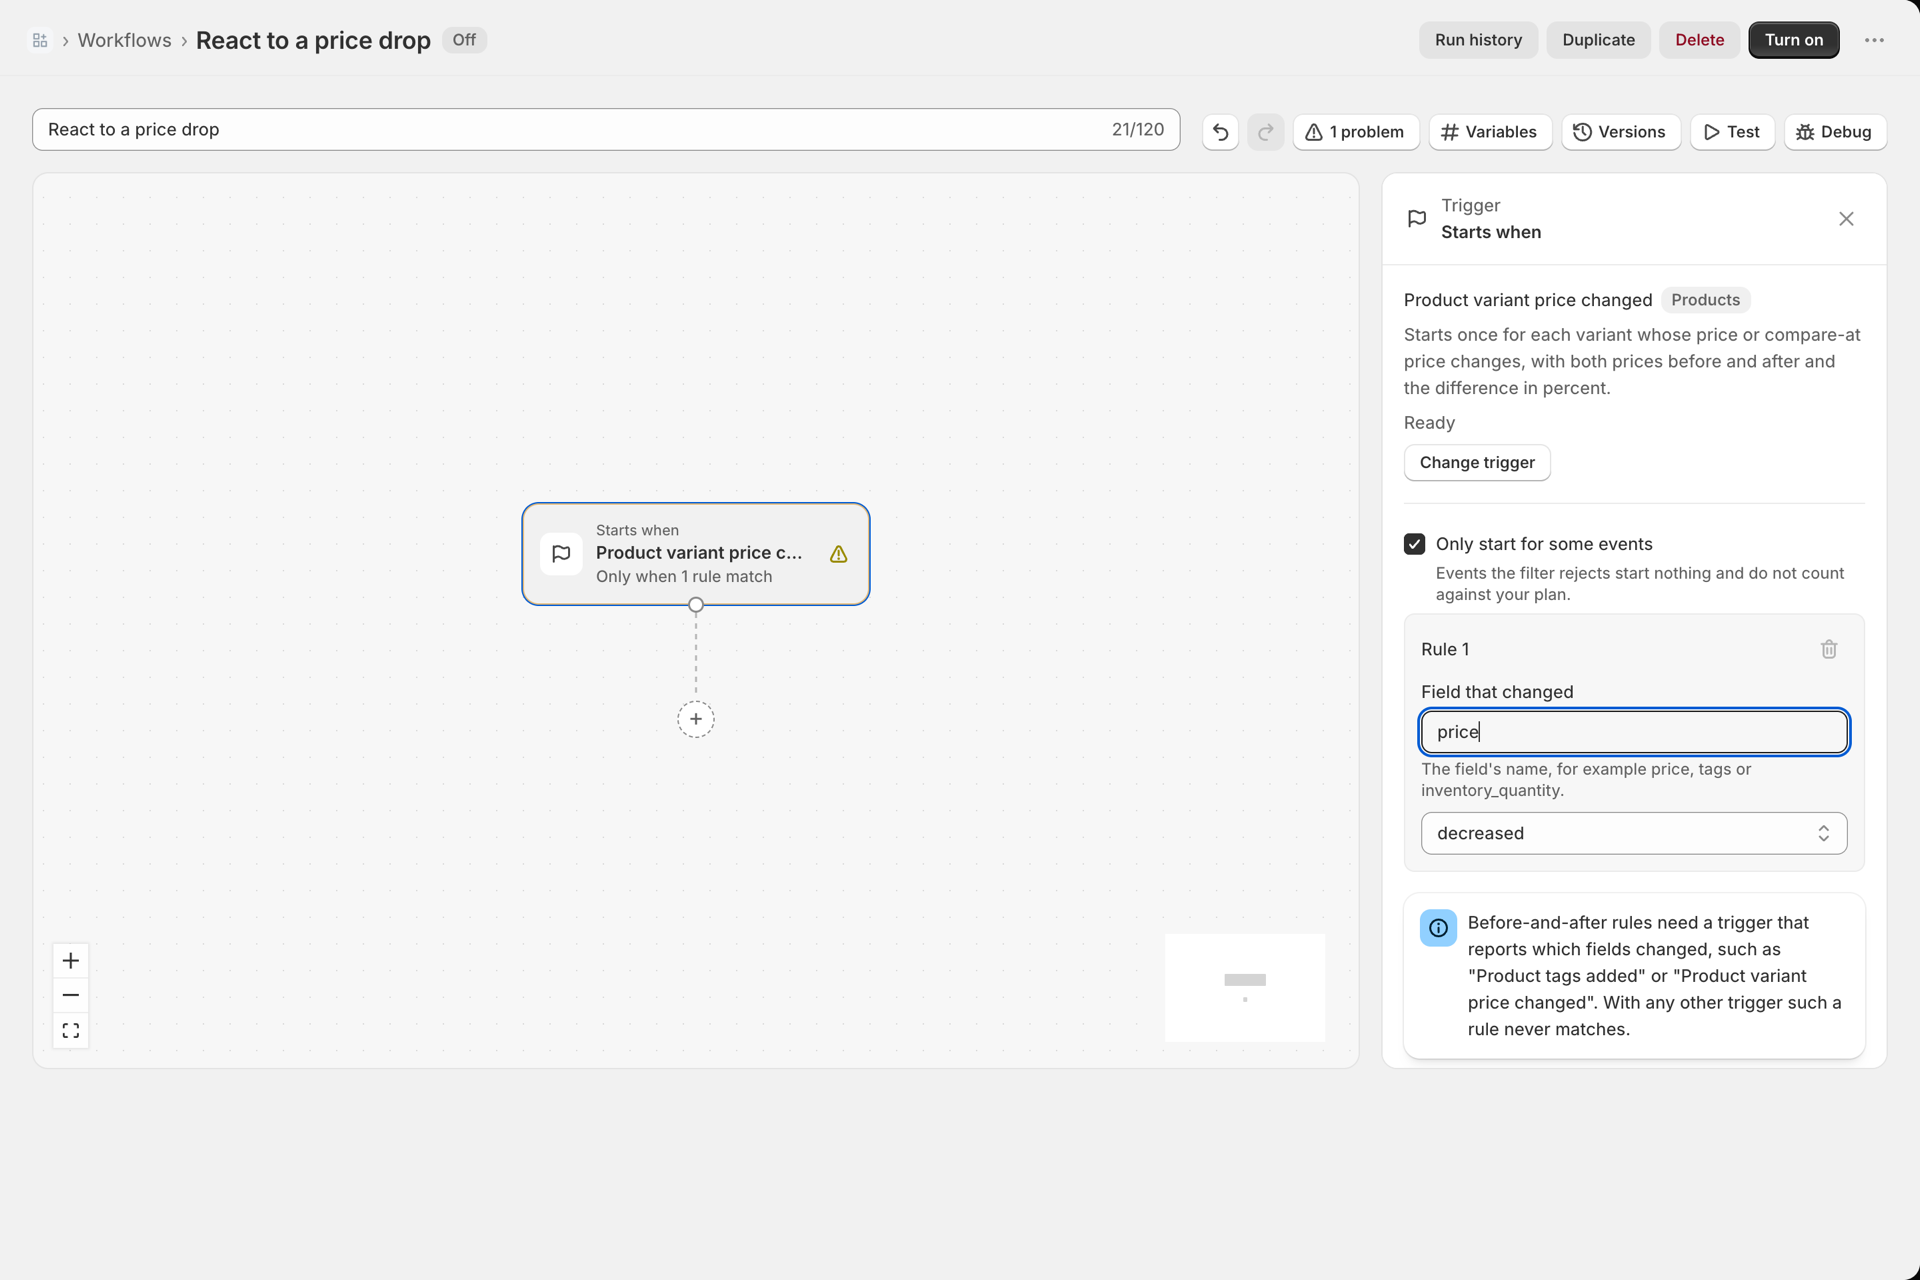
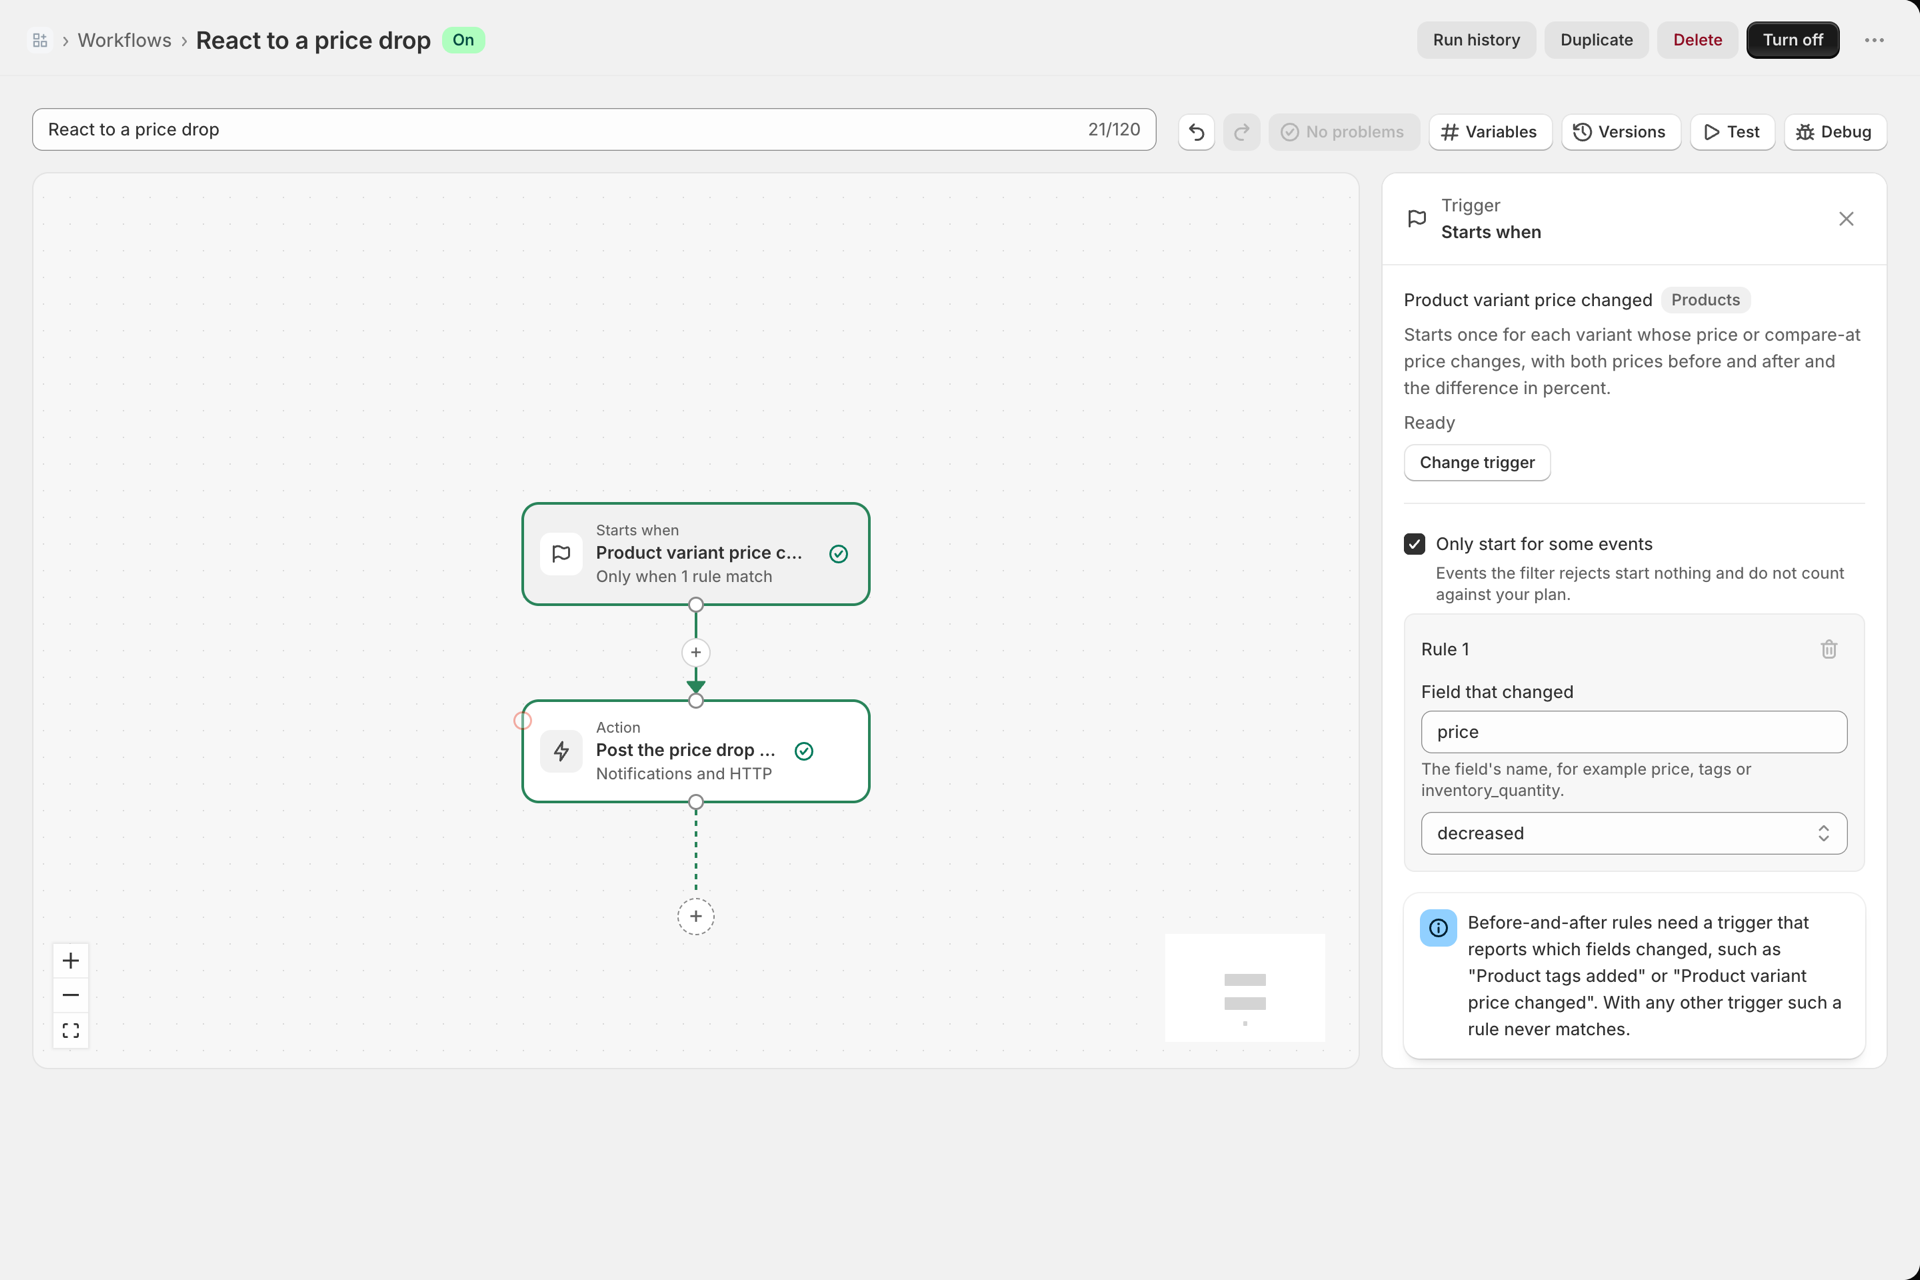
- In the trigger panel tick Only start for some events.
- Under Rule 1 open Comparison and pick decreased. The field turns into Field that changed.
- Type
priceinto Field that changed.
4. Post the old and the new price
- Press the + under the trigger and pick Send Slack message.
- Set Name to
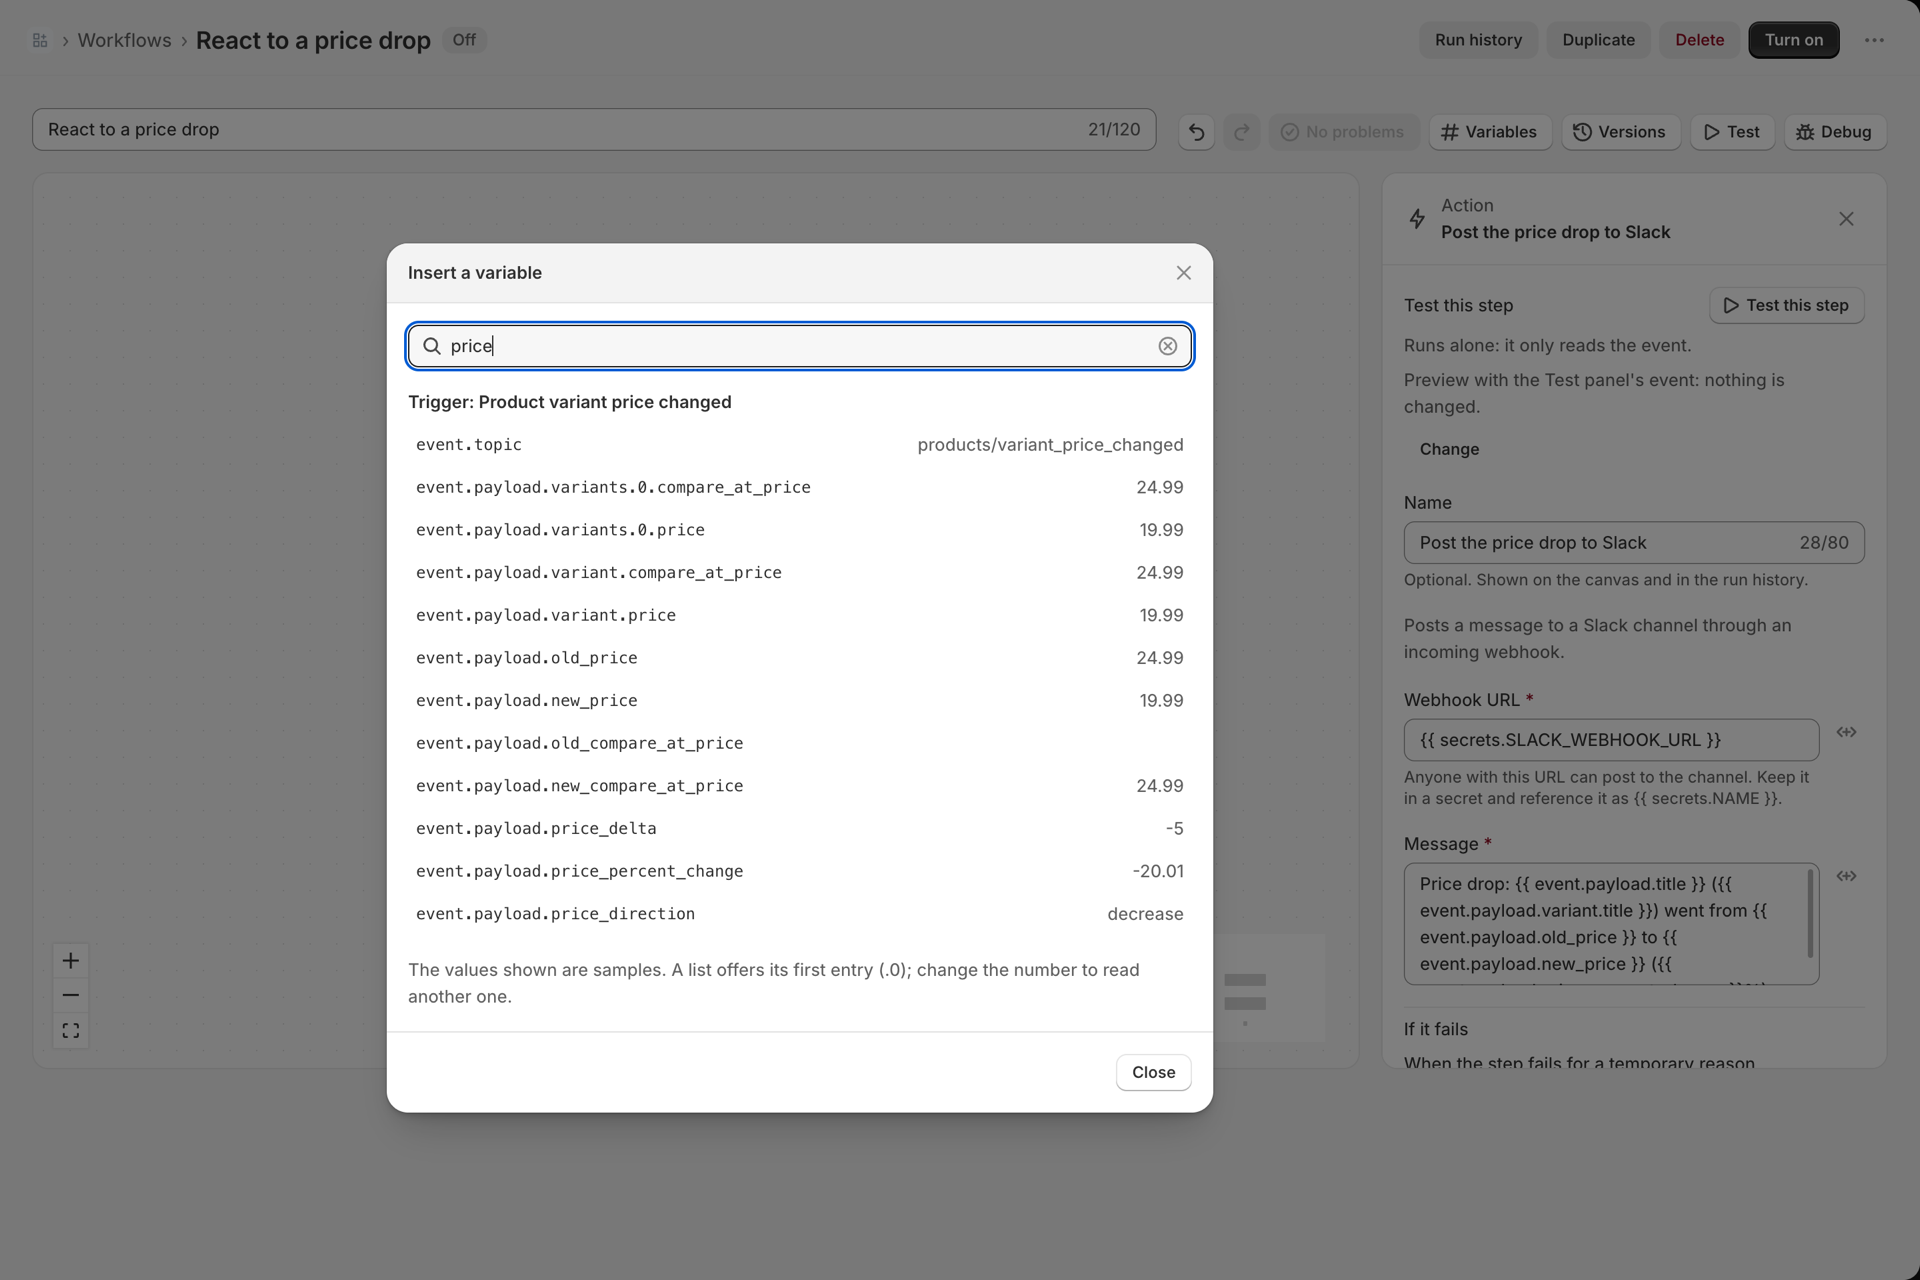
Post the price drop to Slackand Webhook URL to{{ secrets.SLACK_WEBHOOK_URL }}. - Press the variable button next to Message and type
priceinto the search box. The picker lists what this trigger carries:old_price,new_price,price_delta,price_percent_changeandprice_direction, each with a sample value.
- Write the message, for example:
Price drop: {{ event.payload.title }} ({{ event.payload.variant.title }}) went from {{ event.payload.old_price }} to {{ event.payload.new_price }} ({{ event.payload.price_percent_change }}%)- Select Save in the bar at the top of the admin.
5. Test it
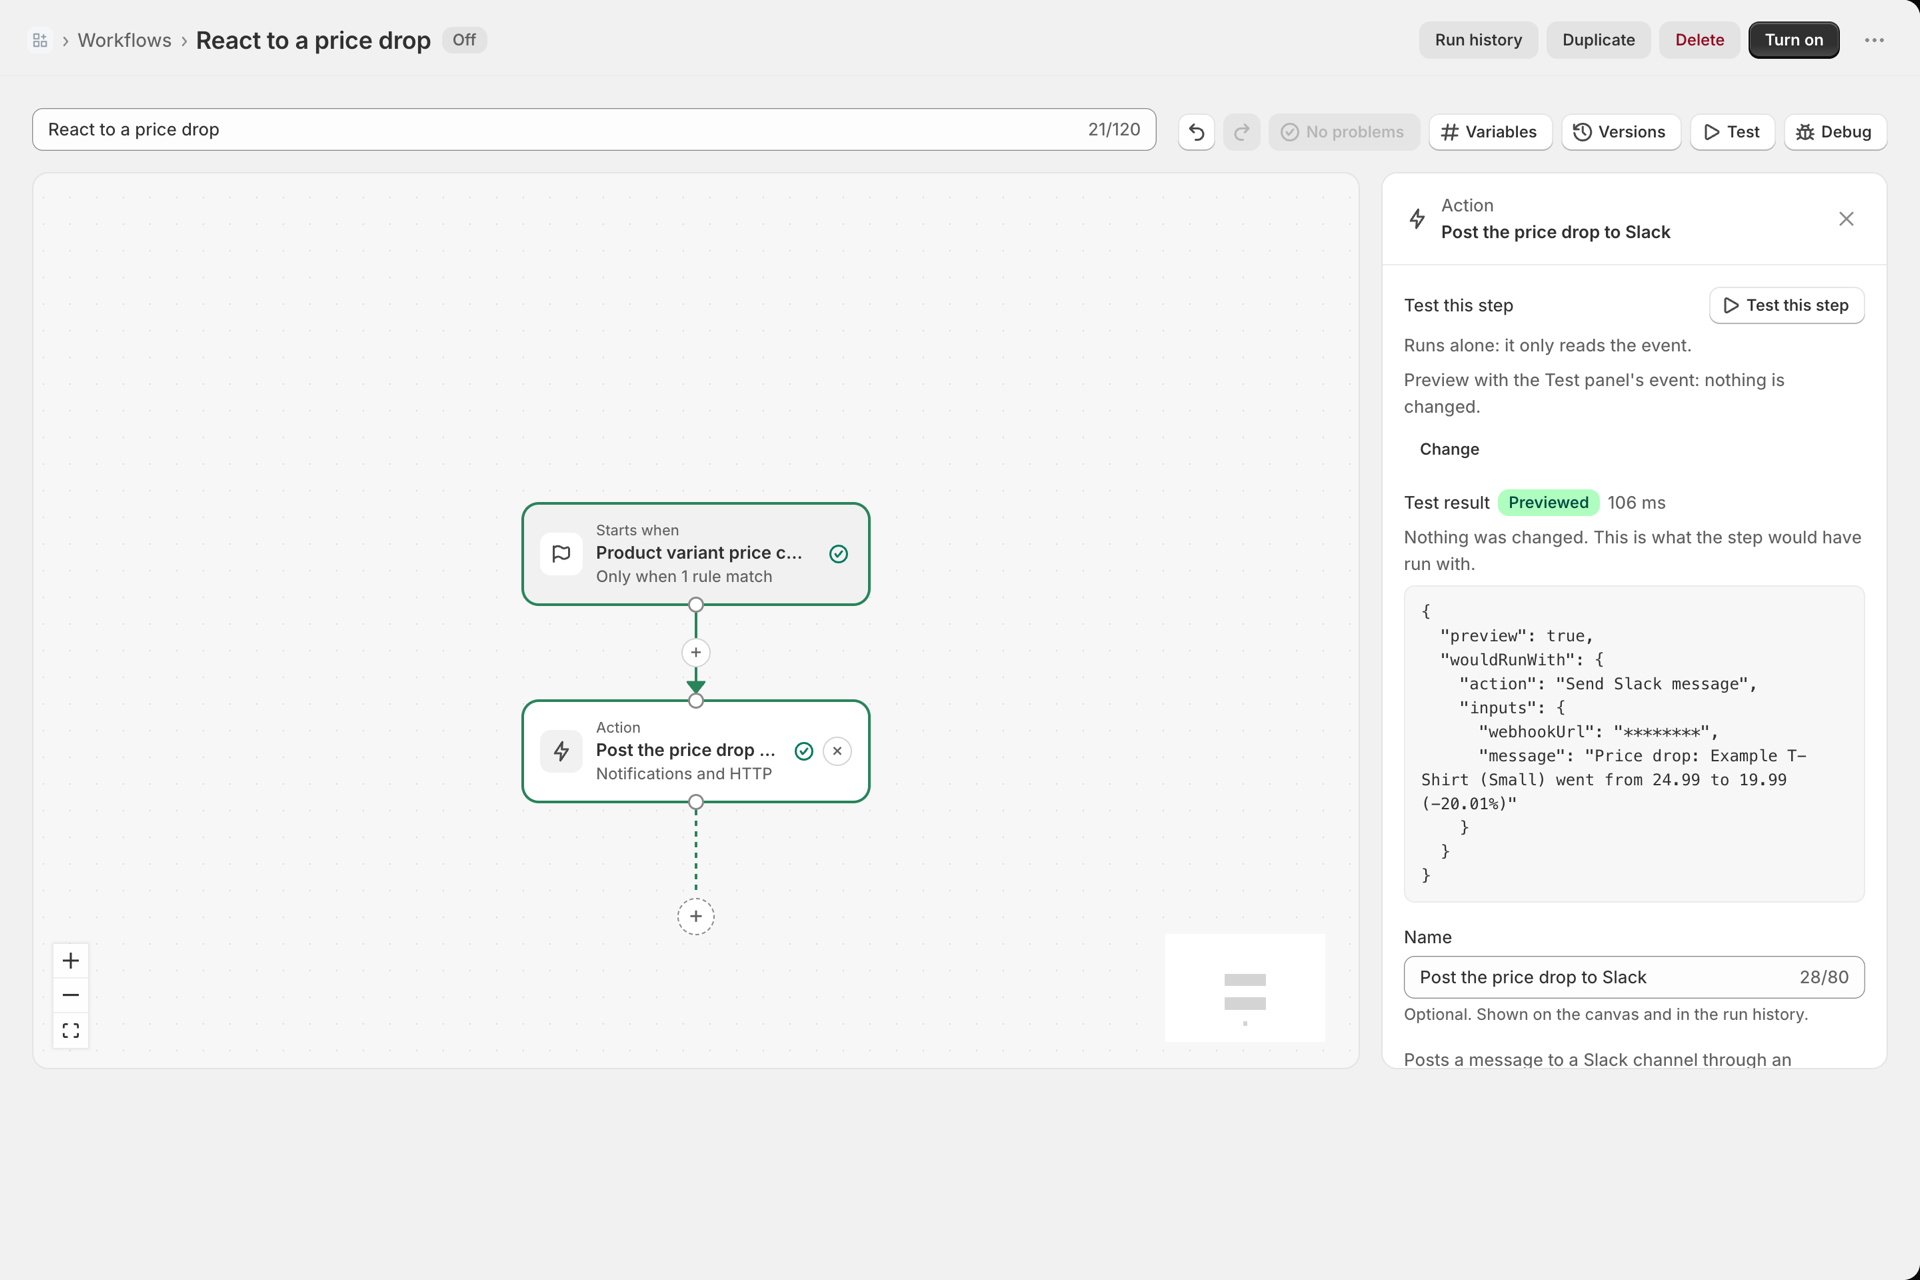
- Select Test in the toolbar. The sample event of this trigger already contains a price decrease from 24.99 to 19.99.
- Keep Preview (nothing is changed) and select Run preview.
- Select the Slack step on the canvas: the panel shows the message as it would have been sent.
6. Turn it on
Select Turn on. The trigger panel says Preparing: reading your existing products so the first change is not missed until the app has read them, then Ready. A change trigger compares each event with what the app saw before, so the app reads your products once. The first change of a product the app has never seen only records the baseline; the second one starts the workflow.
Make it yours
- Only big drops: add a second rule
price_percent_changeis at most-20on the trigger filter. - Add a Condition instead of a filter when you want a different message for increases: Conditions.
- Other change triggers work the same way: tags added, status changed, back in stock, metafield changed. See Change triggers with before and after values.